I heard so much about Cursor on X in the last few days on how it can speed up your development process that I decided to give it a try, I have to say I’m very impressed with the product and the potential it has to change the way we develop software.
If you haven’t heard or used Cursor yet, I suggest you download it from cursor.com before continuing reading this article. Once it’s all setup, I’ll show you all the tricks I learned so far and how it can speed up your development process.
Getting started
Cursor is a code editor that has been cloned from VSCode, it has the same layout and the same keyboard shortcuts but it has a few extra features that make it stand out, especially the AI assistant that can help you write code. Cursor is integrated with Claude Sonnet 3.5 model from Anthropic, which is a state-of-the-art model for code generation.
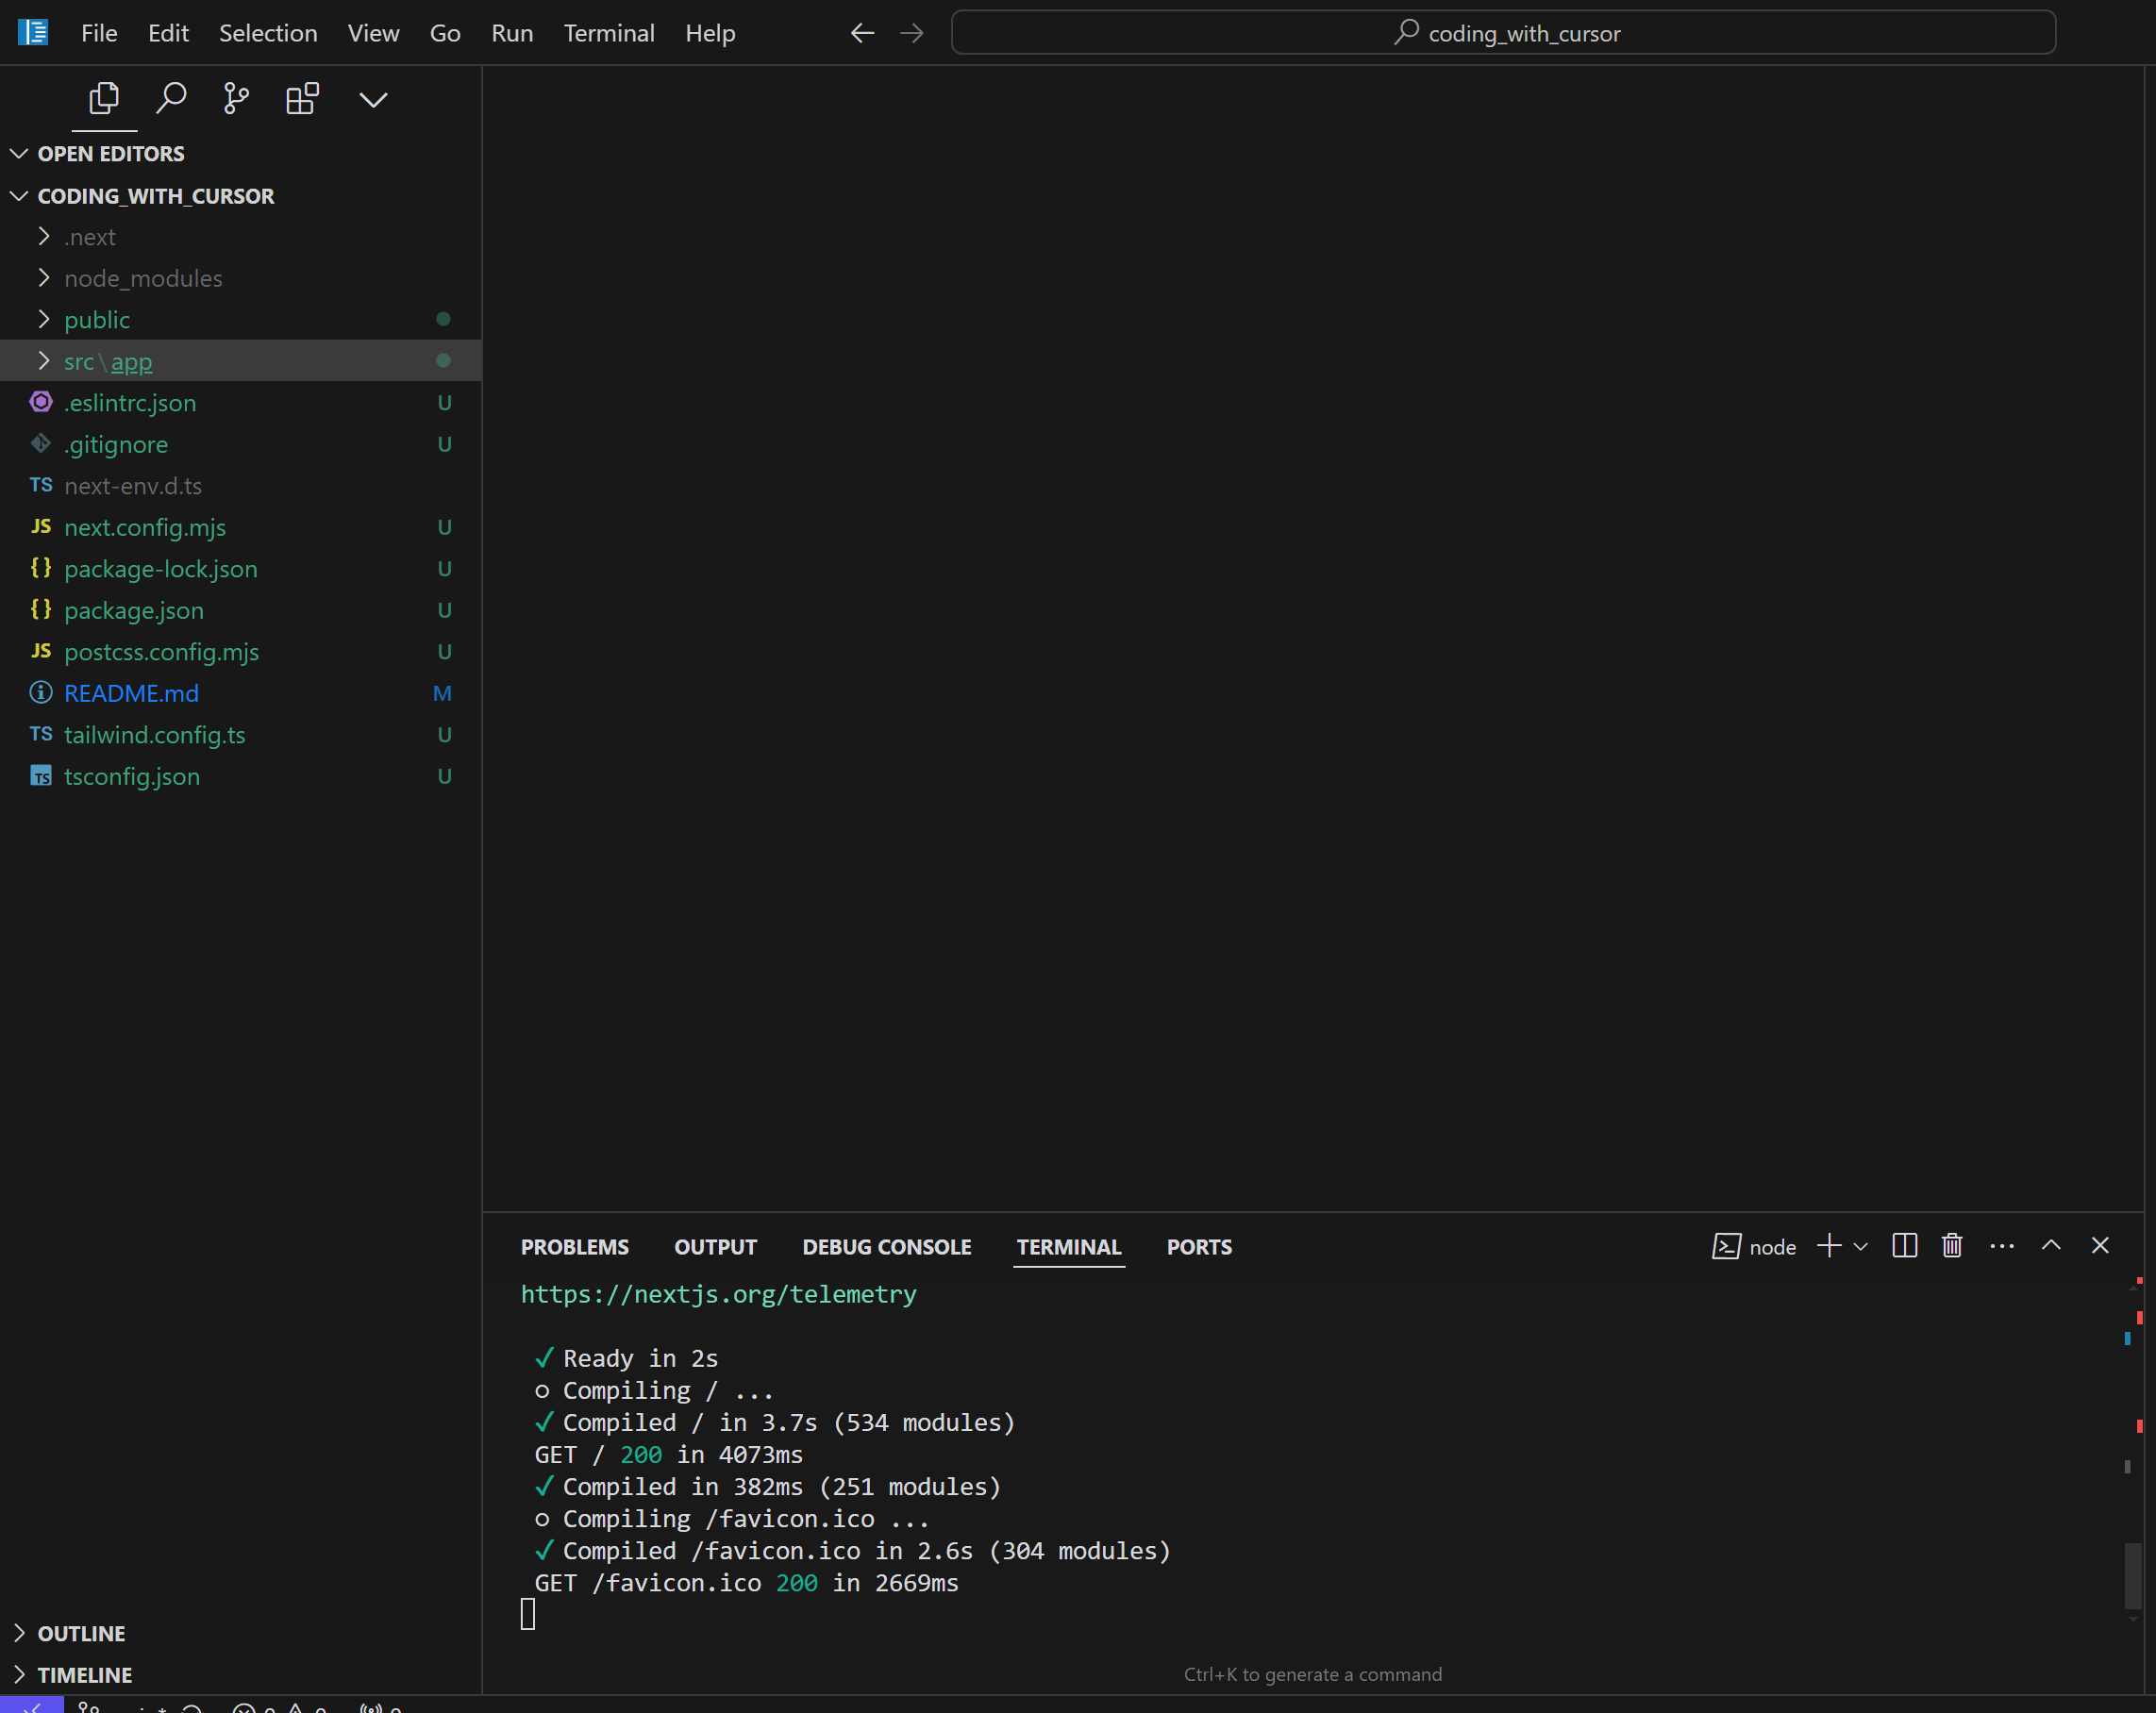
When opening Cursor, you will see a screen like the below, I have only created a Next.js app from scratch using the command npx create-next-app@latest
NOTE: I have never used Next.js before so this will be a fun experiment to see how Cursor can help me with that even if I don’t have any prior knowledge.
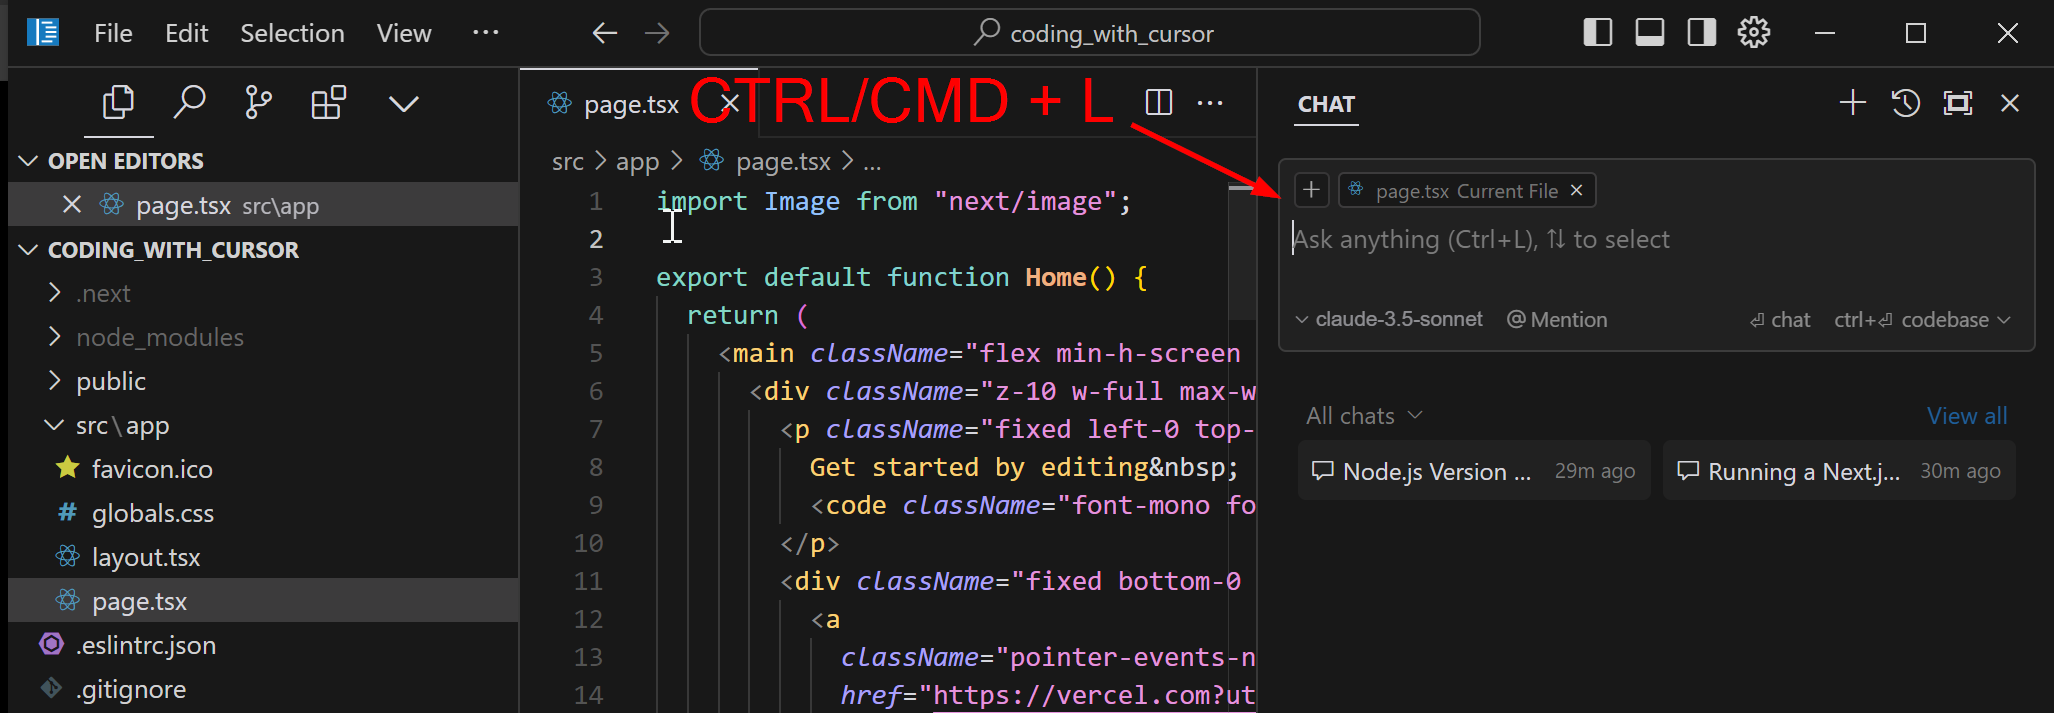
On clicking on a file, you’ll get the text CTRL + L to chat, CTRL + K to generate, these are the most important keyboard shortcuts to know, let’s see what they do.
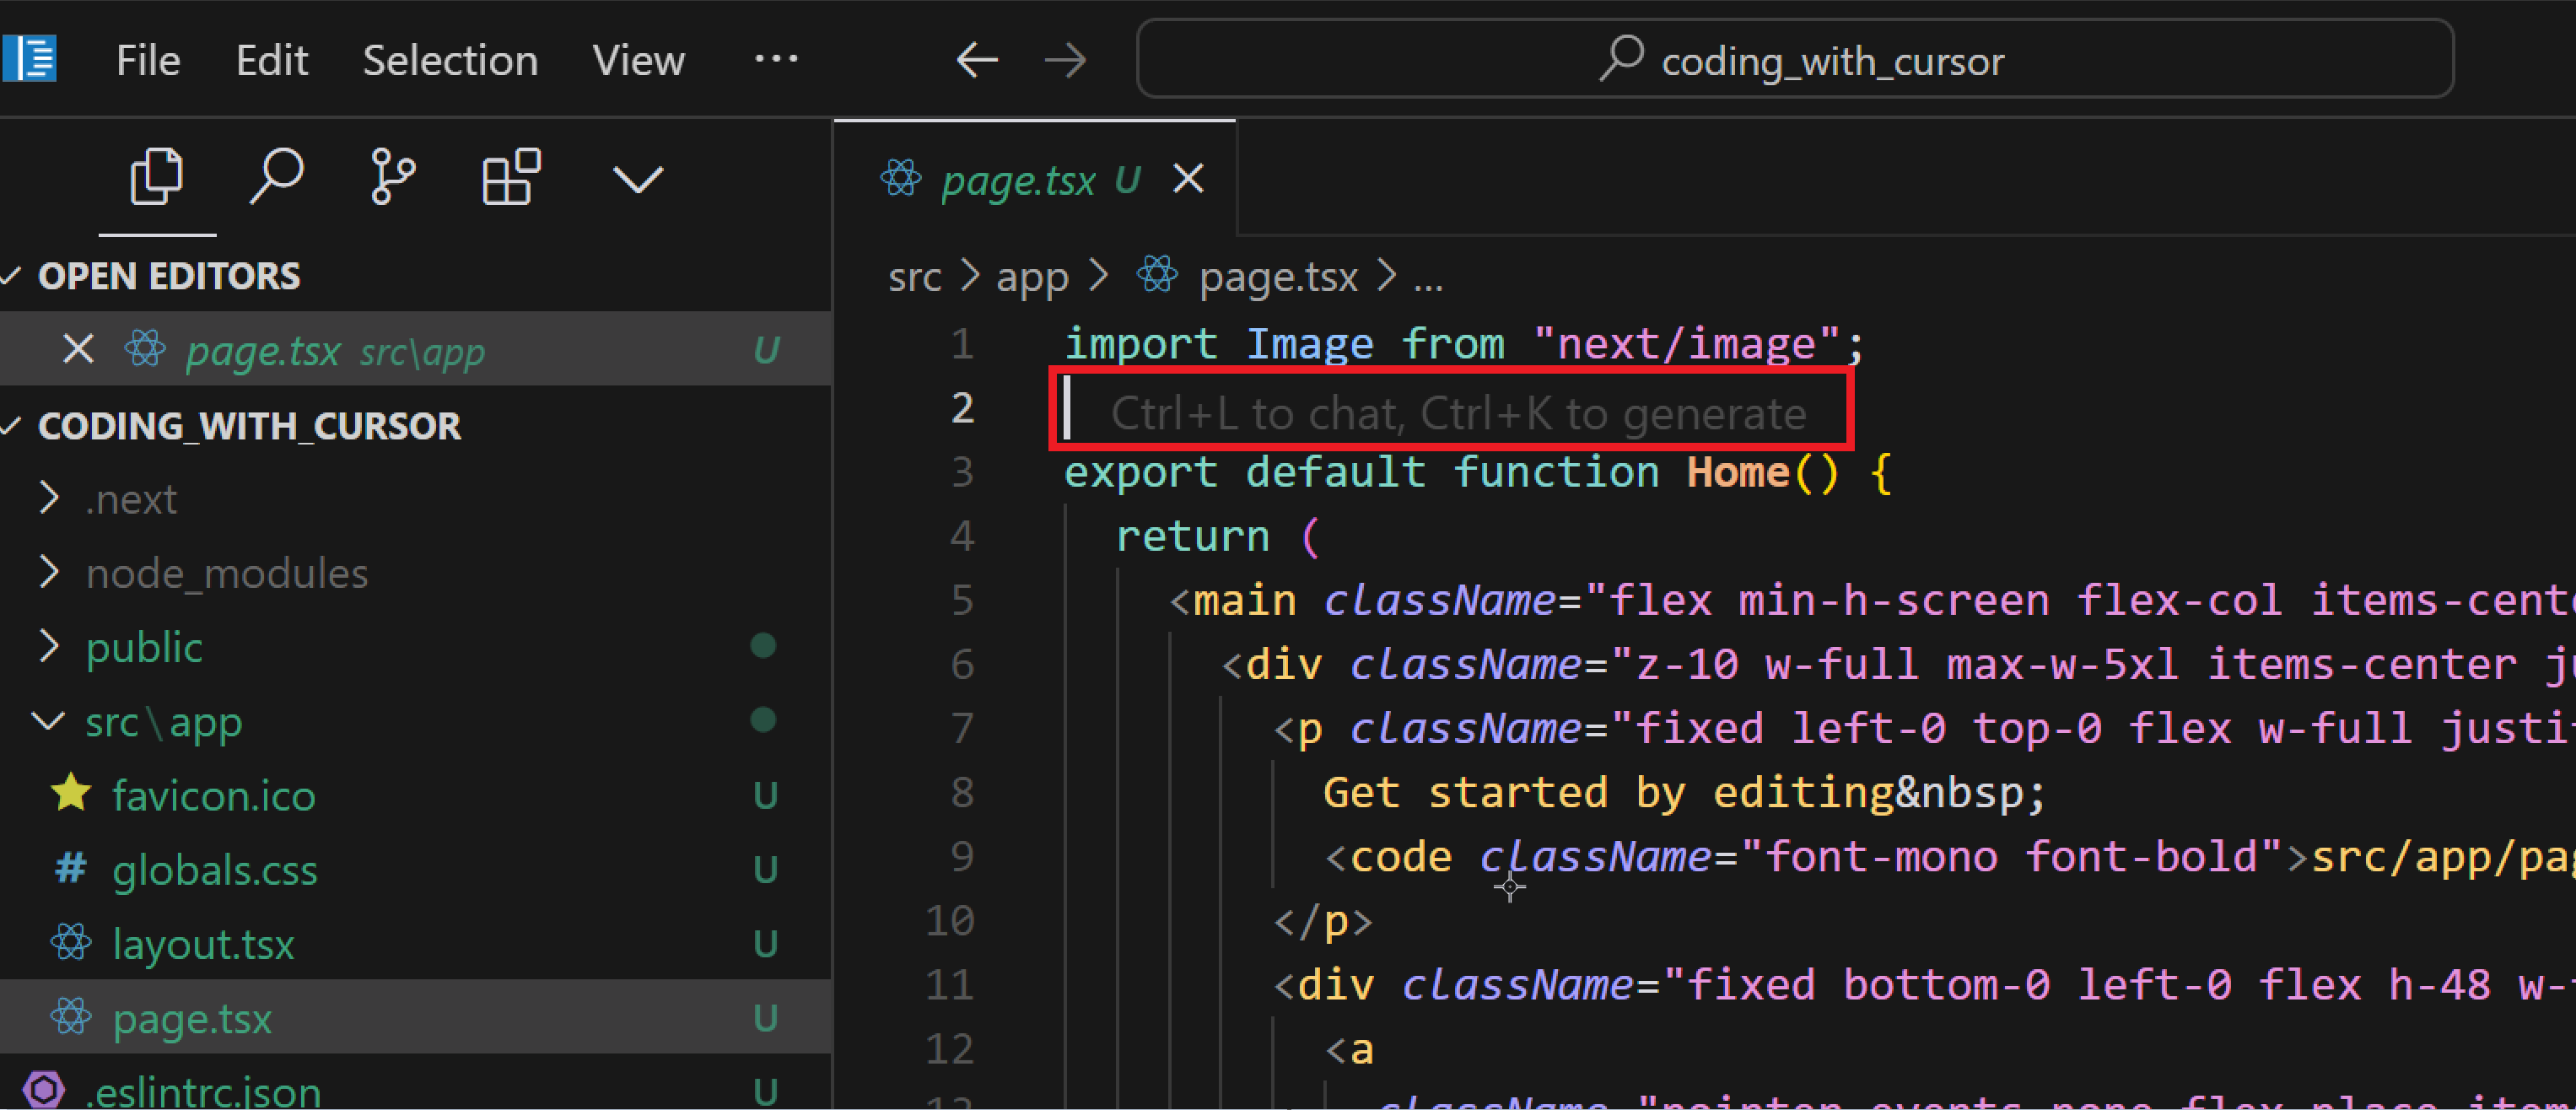
CTRL/CMD + L: this is to open the chat on the left hand side to talk directly to the model.
CTRL/CMD + K: this option opens a pop up where you can describe to the model what you’d like to do in the file. You can also highlight code and click on the
Generatebutton to generate the code for the highlighted code, this will modify the existing code and give you the chance to review it and continue the conversation.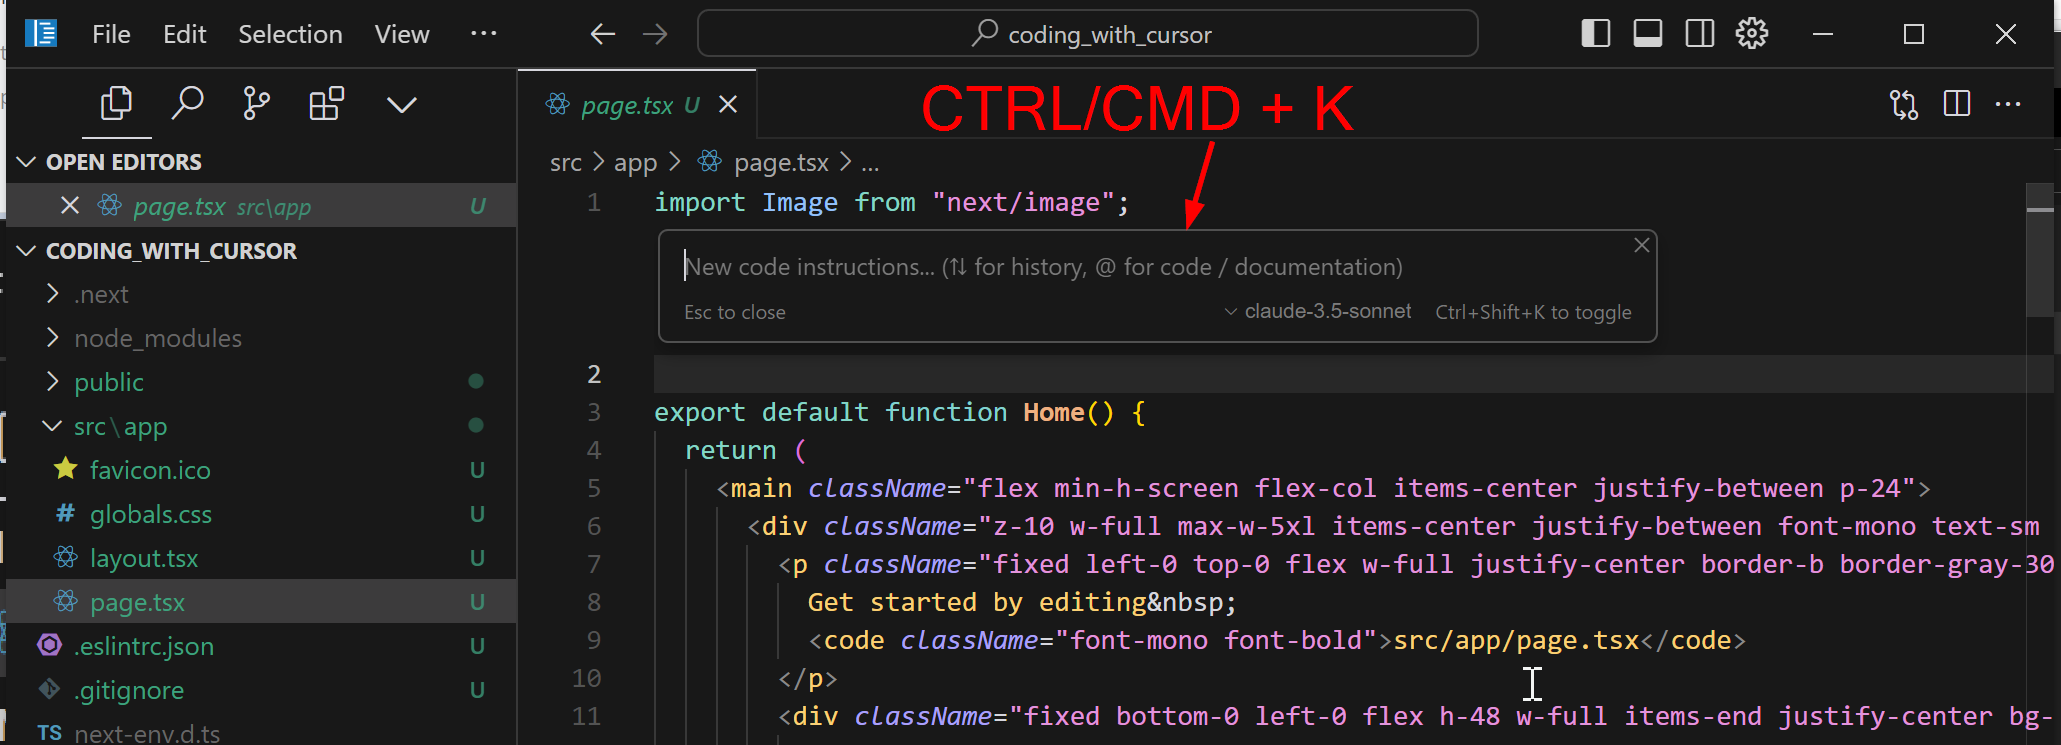
This is where it gets interesting, the pop up not only allows you to put a prompt but can also reference text from a number of sources, it can be activated by typing
@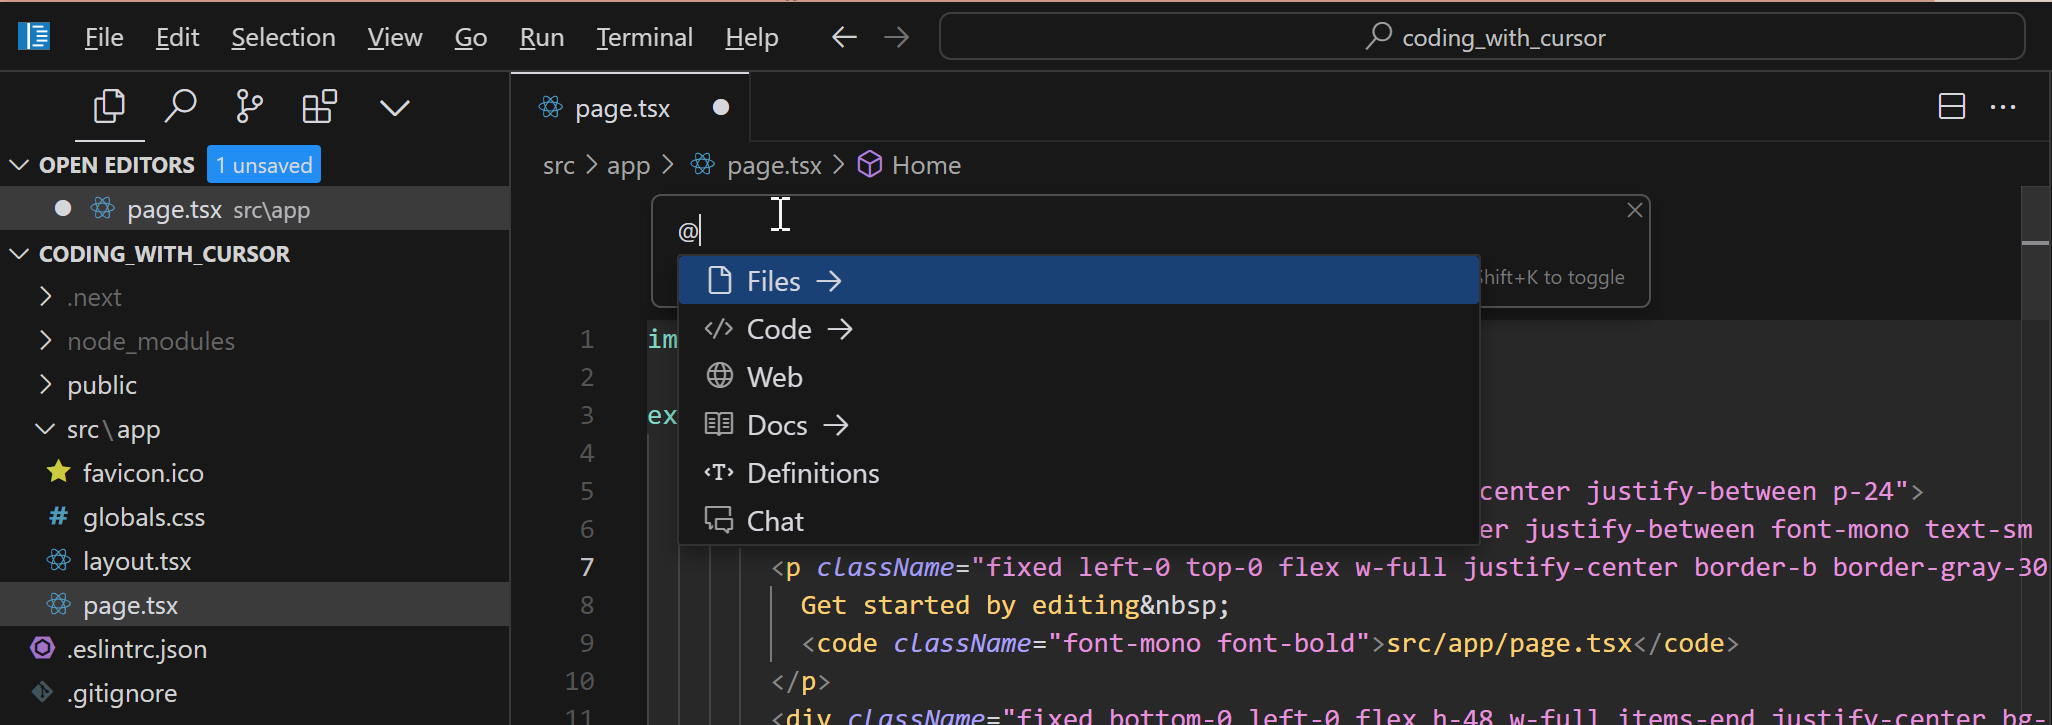
- @File: It gives a list of files in your project and you can select one to use as context for the code generation.
- @Code: It references code sections from the current file or other files in your project.
- @Web: This option constructs a search query, gets the results from the web and uses them as context for the code generation.
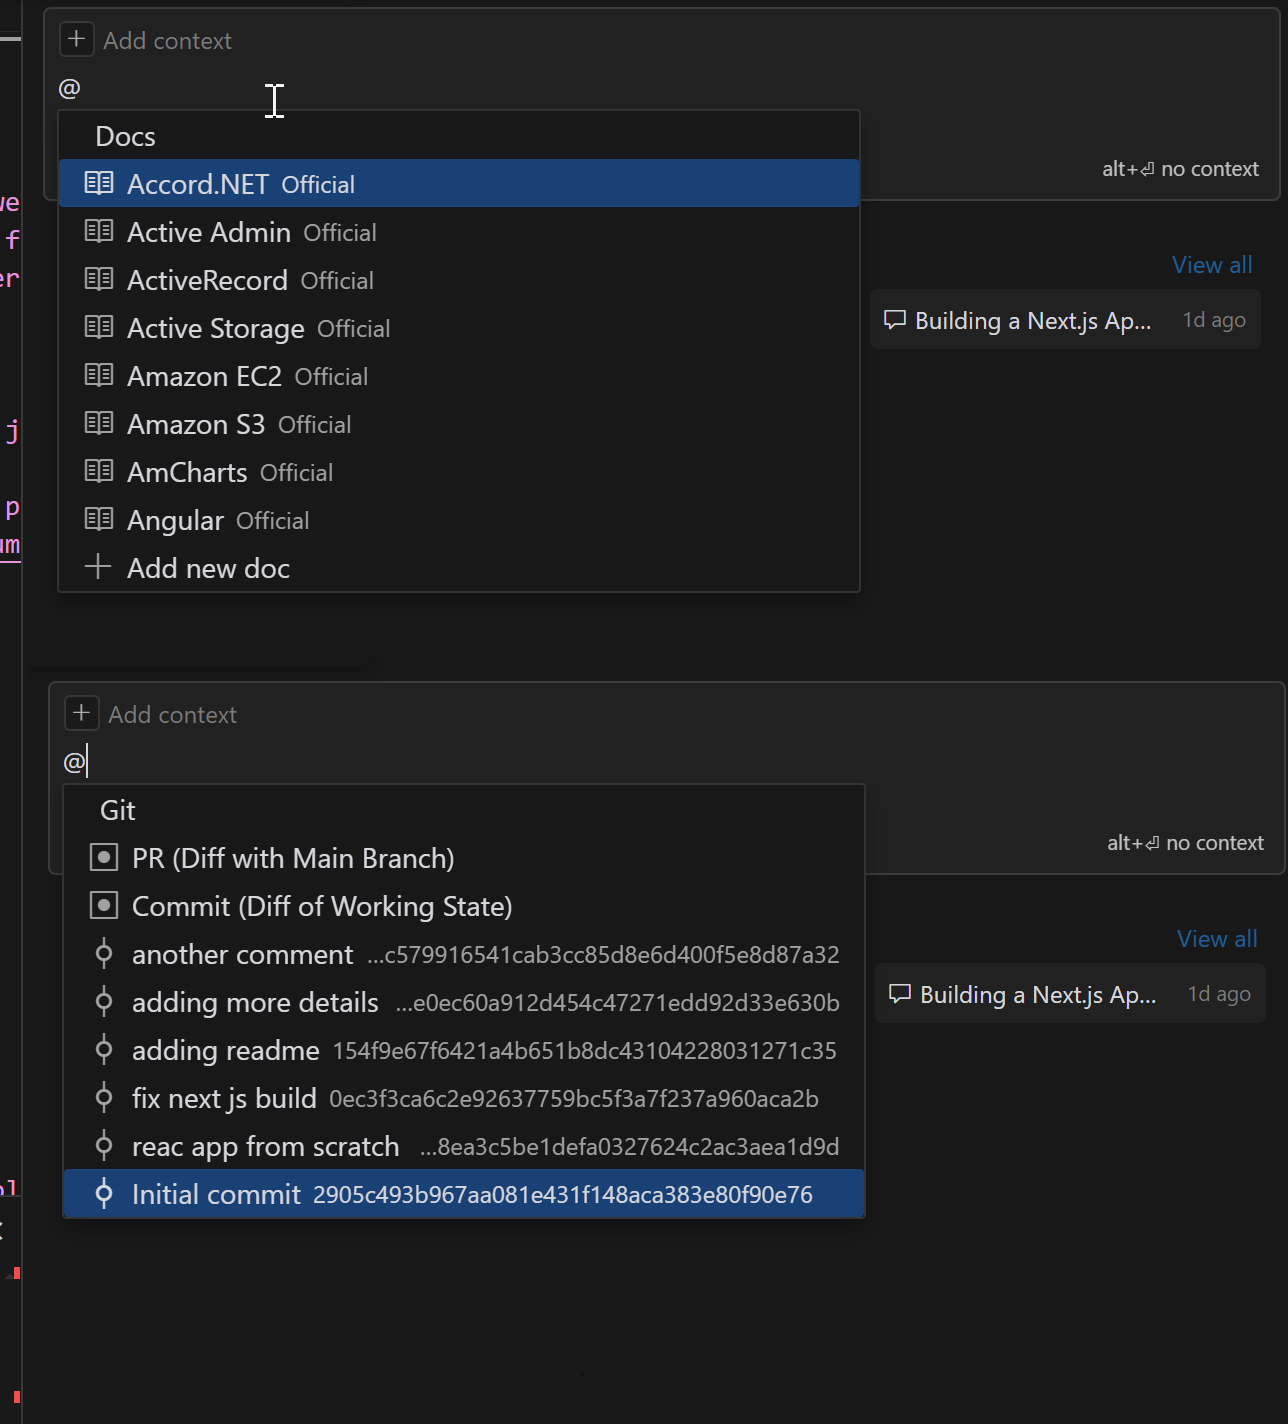
- @Docs: List sources to get information from, you get a list of the major frameworks and libraries but it can also add your own documentation.
- @Definitions: Adds all the nearby definitions in the source code to the context.
- @Chat: Adds messages from the current conversation to the context.
These options can be incredibly useful when you want to provide additional context or specific code snippets to the AI assistant for more accurate and relevant code generation. There are a few more options that can also be used in the chat area, see the whole list in the @-Symbols Cursor documentation.
Chat window
The chat window is where you can talk directly to the model, the @- symbol can also be used here but it has a few more options
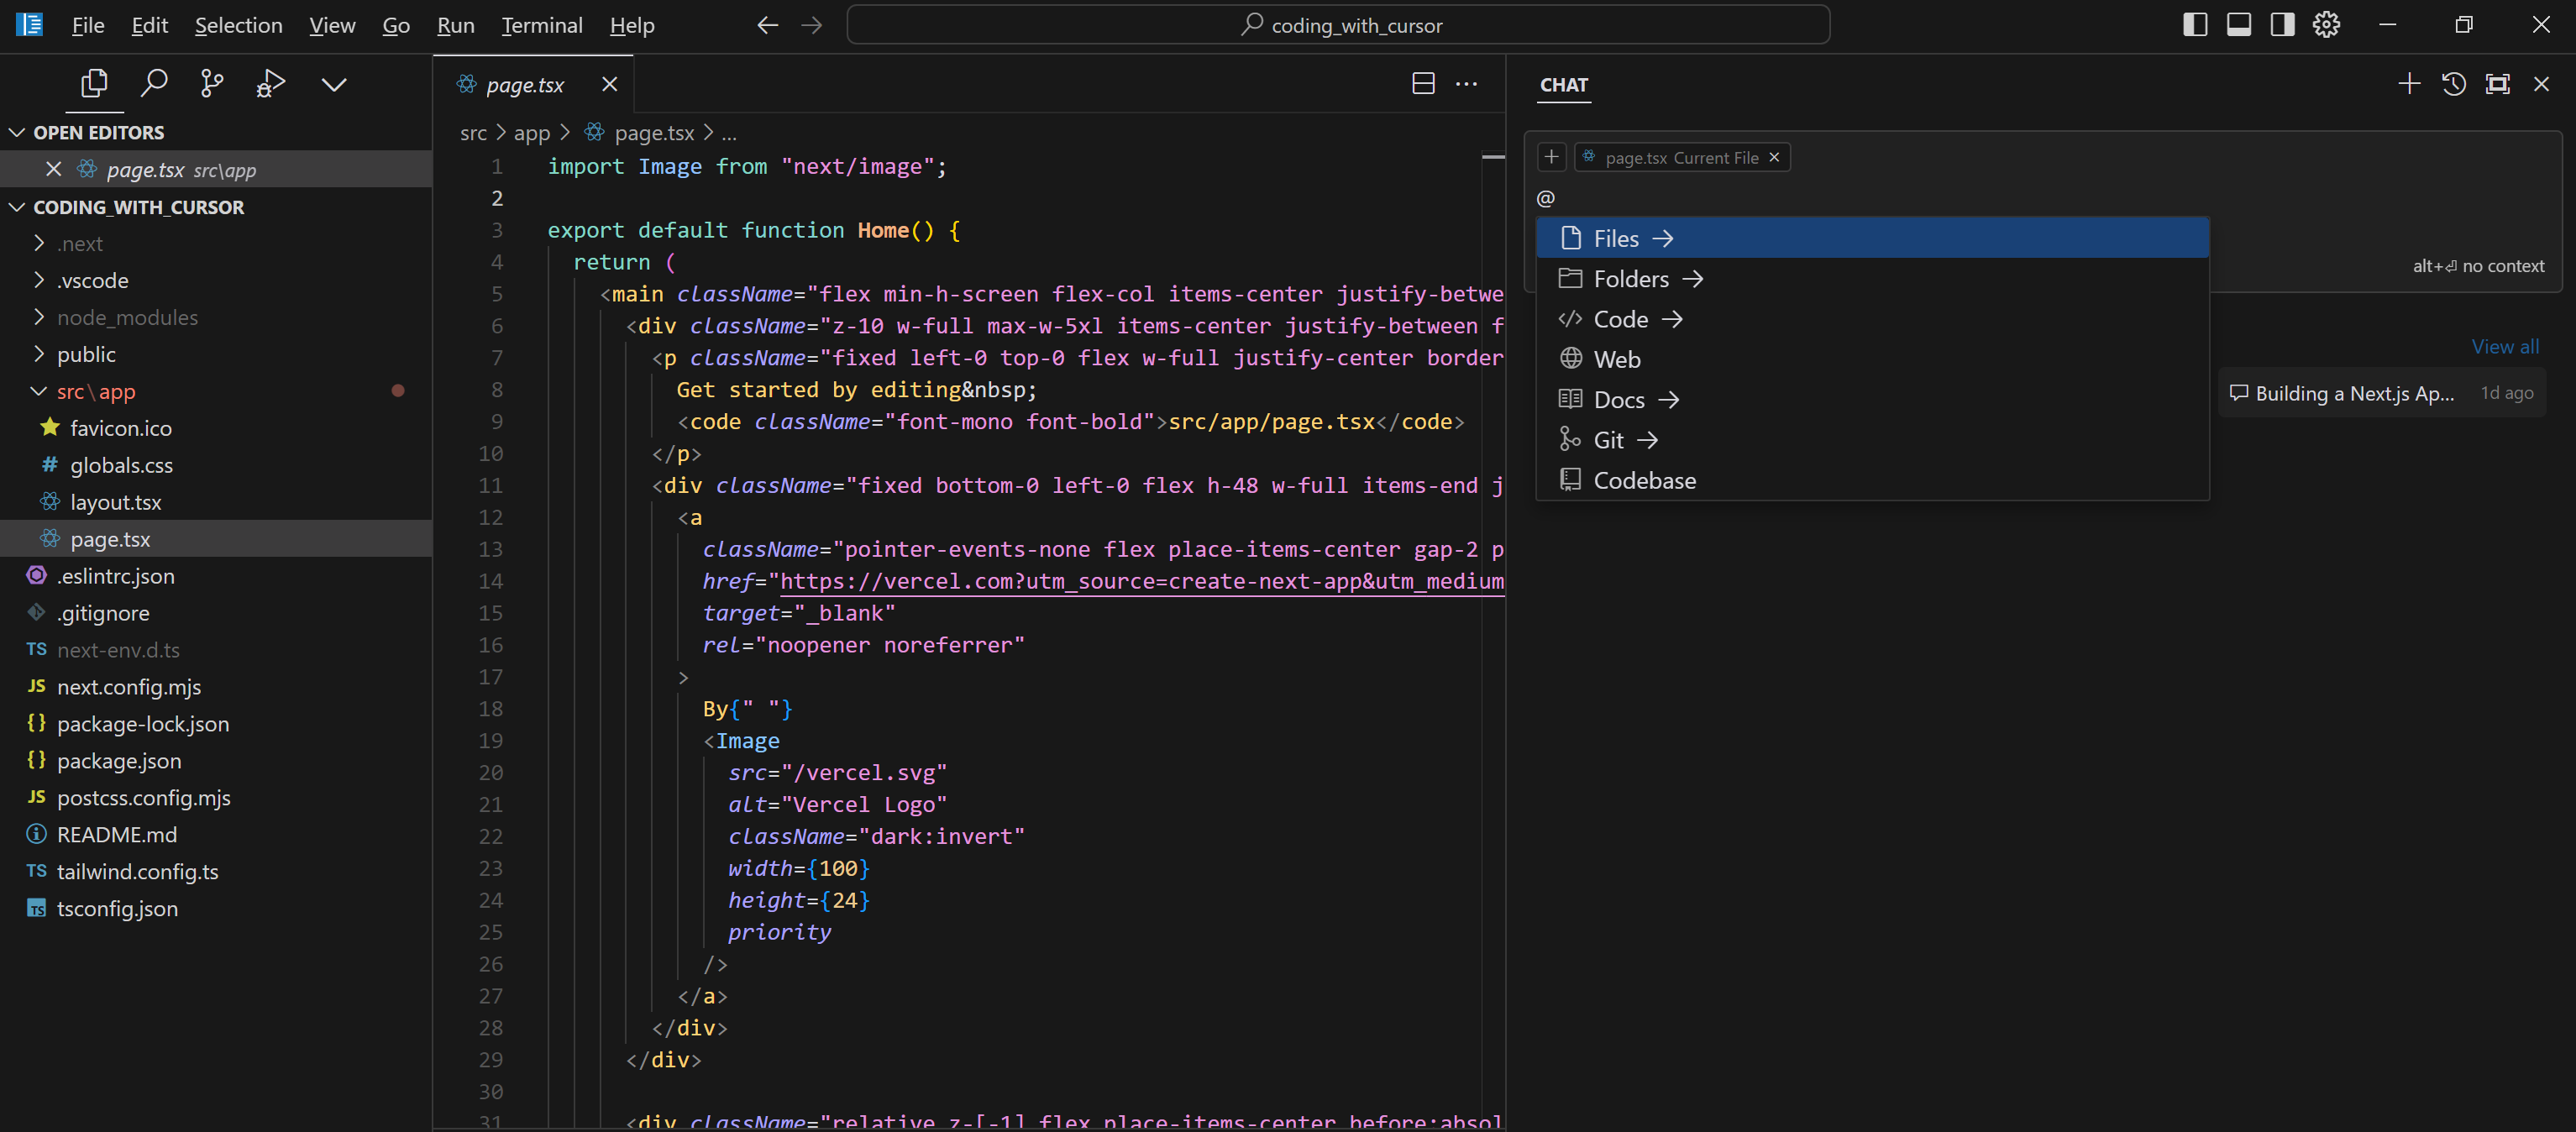
The additional options that I found very useful are:
- @Folders: It can reference a folder and ask the model to make changes to it.
- @Git: It finds commits or even different branches, this could be useful to make the model aware of other incoming changes that could be developed in another branch and haven’t been merged yet into the main branch.
- @Codebase: I haven’t been able to use this option yet but according to the documentation, it gives Cursor the ability to go through steps until it finds the most important pieces of code to use.
Composer mode
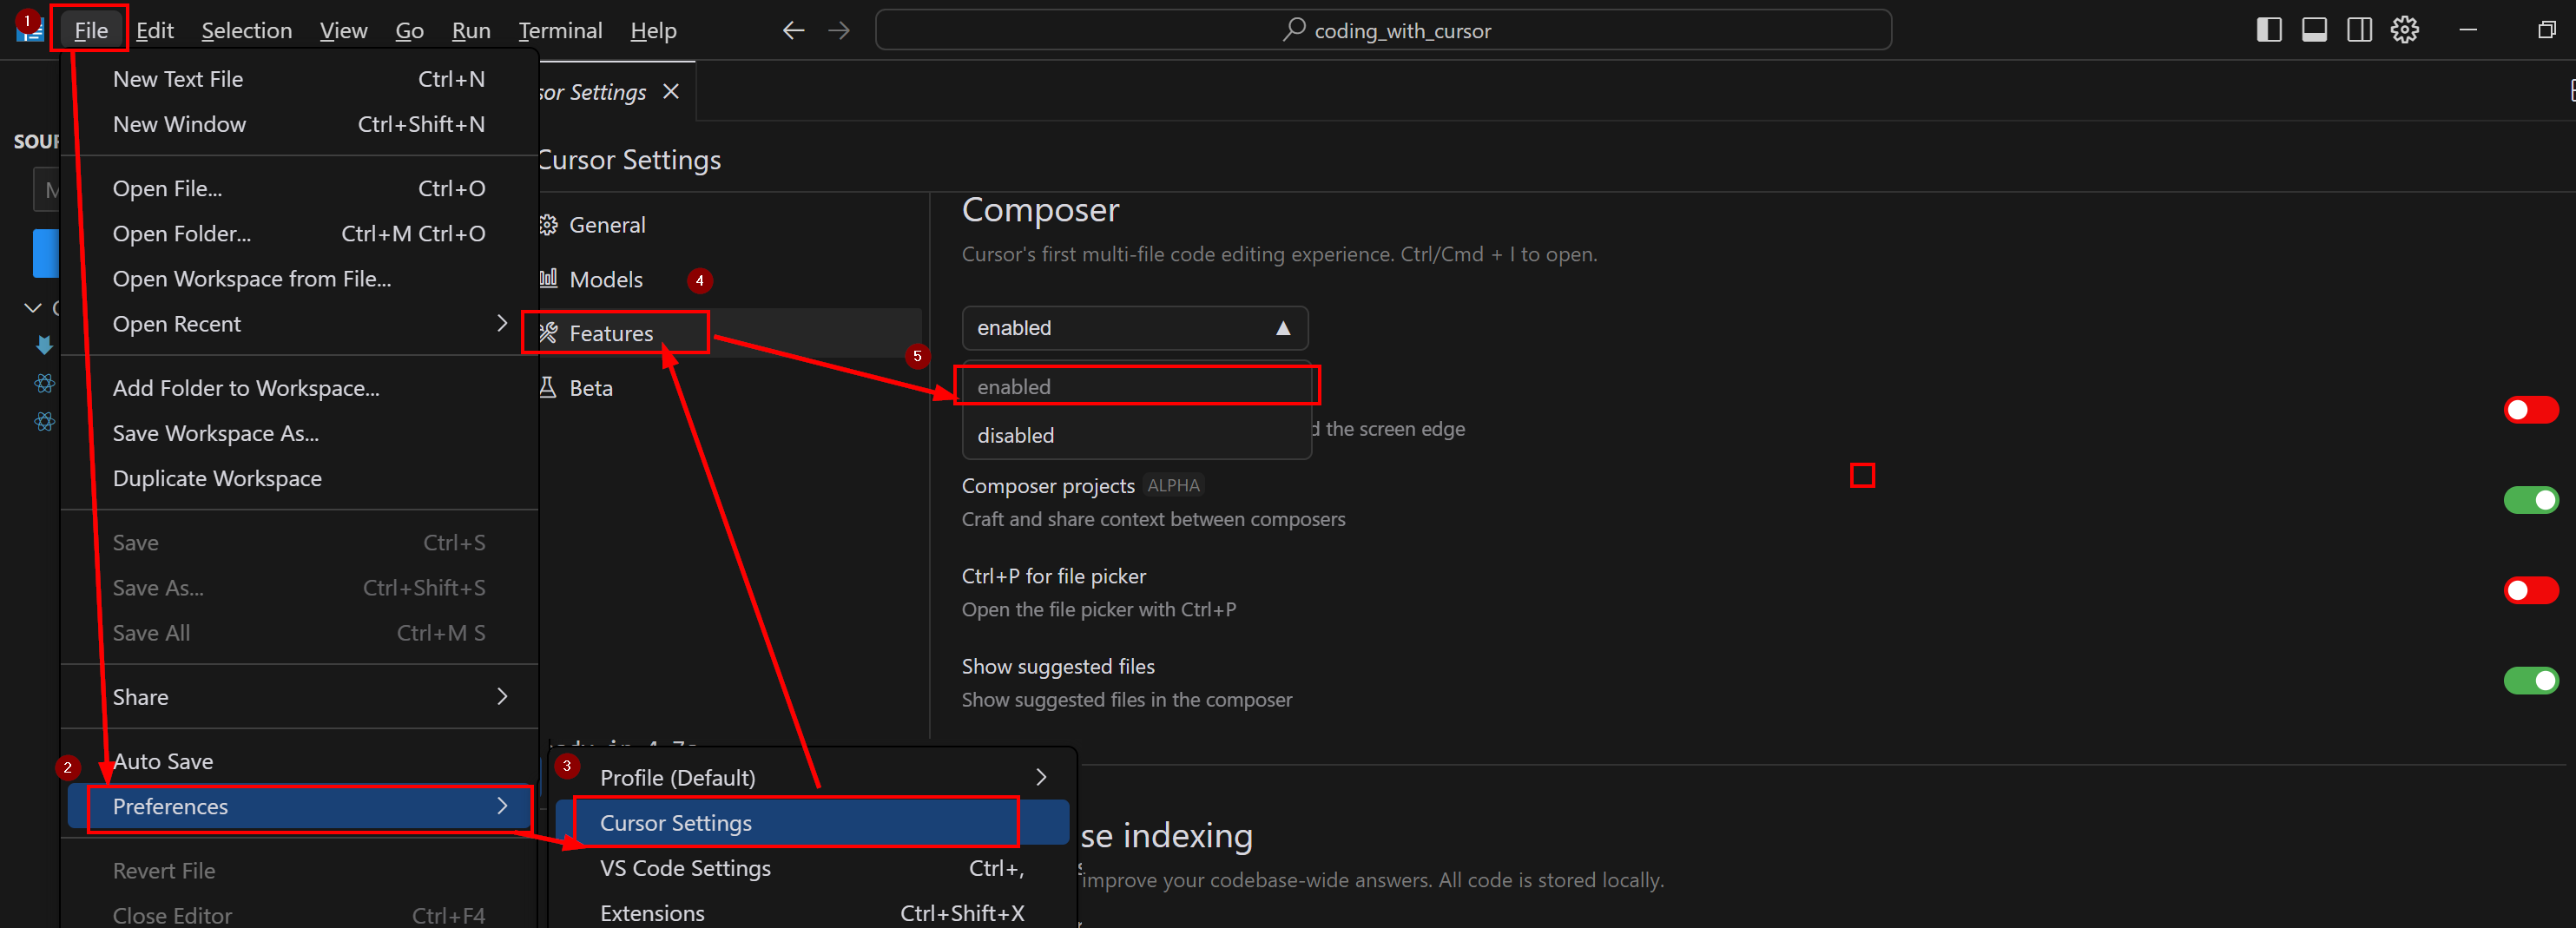
One important feature still in beta is the composer mode, it gives you the ability to create a multi-step chat with the model to generate more complex code. This feature is not configured by default so you’ll need to enable in File > Prefereces > Cursor Settings > Features > Enable Composer
Composer mode can be activated by using CRL/CMD + I and it will show up a window like the below, I haven’t been able to show it in a bigger window size, not sure if possible at the moment, I’d personally prefer to have it on the left hand side like the chat mode
With the composer mode, you can use the feature we discussed before to reference other files in the project, a very useful one is to create a prompt with all the steps you’d like the LLM to follow, I’ve even seen a cursor.directory recently where people can contribute with their own prompts.
Creating an app with Cursor composer
This is the interesting part, I’ve been working on a prompt that gave me the ability to create a working app on top of Next.js that was generated using the npx create-next-app@latest. You can find the the repo and more details on https://github.com/jstoppa/coding_with_cursor
The prompt below is used to generate an app that allows the user to check any stock market and display a graph timeline with the stcok value in the last 20 years
create an app what allows you to search any stock in the market and show them in a graph timeline with the value in the last 20 years.

make sure
- add any new library to package.json so I can easily install them
- any new file should be inside the folder /src/app
- modify /src/app files so the page loads the stock page directly
- use the free yahoo finance API and make the API call from the server side to avoid CORS issues
- the page should work if it's opened in a system where the default setting is dark mode
And here’s the video demo:
Overall I’m very impressed with Cursor and the potential it has to change the way we develop software, I’m looking forward to seeing what new features they’ll add in the future and also building new prompts to create more interesting apps.
I hope you like this article, if you want to hear more follow me on X at @juanstoppa where I regularly post about AI